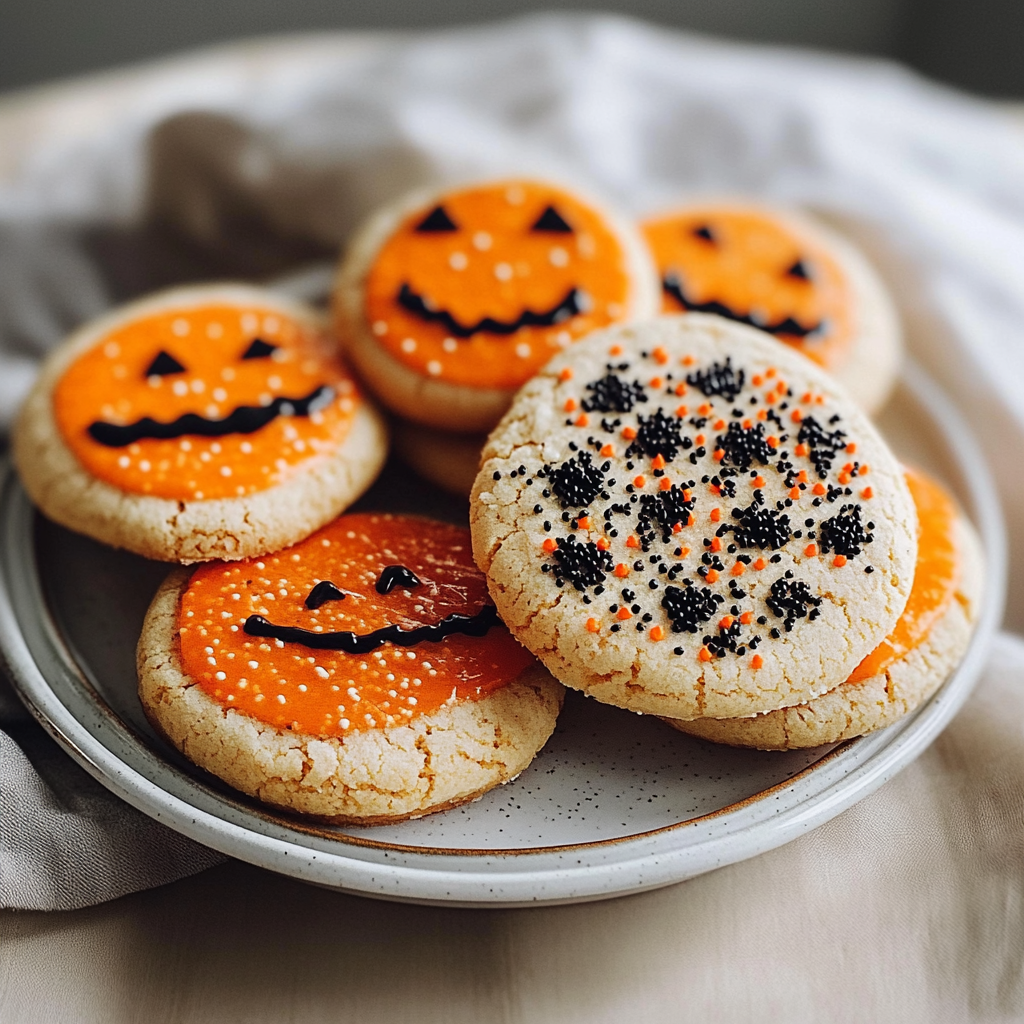
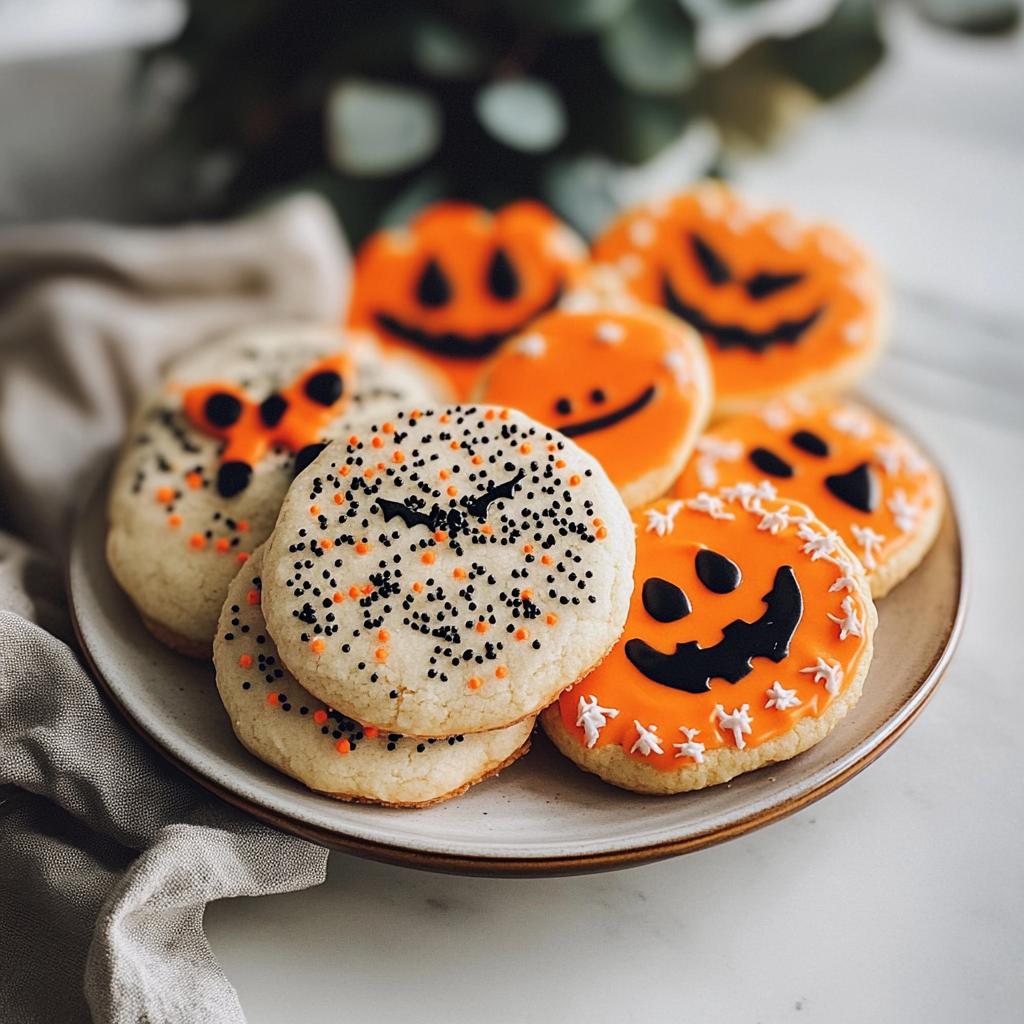
Halloween is creeping around the corner, and what better way to celebrate than with cookies that scream festive fun? Picture this: perfectly baked cookies, each one a canvas for your wildest Halloween dreams. Spooky shapes, vibrant colors, and flavors that dance on your tongue—it’s a treat guaranteed to thrill kids and adults alike.
Jump to:
- Ingredients for halloween cookies decorated
- How to Make halloween cookies decorated
- <strong>Perfecting the Cooking Process</strong>
- <strong>Add Your Touch</strong>
- <strong>Storing & Reheating</strong>
- FAQs
- What are the best types of frosting for Halloween cookies decorated?
- How do I store Halloween cookies decorated?
- Can I make Halloween cookies decorated ahead of time?
- What are some creative designs for Halloween cookies decorated?
- Conclusion for halloween cookies decorated
- 📖 Recipe Card
I remember the first time I attempted to make Halloween cookies decorated with ghoulish faces; let’s just say it was a sticky situation! My kitchen looked like a sugar-bomb exploded, but oh boy, the joy on my kids’ faces made every flour-covered moment worth it. These cookies are perfect for Halloween parties, school events, or simply indulging your inner witch. So grab your apron; let’s conjure up some magic!
Why You'll Love This Recipe
- These Halloween cookies decorated are easy enough for budding bakers to tackle while boasting flavors that even adults will adore.
- The colorful designs make them visually irresistible and perfect for a spooky gathering.
- Plus, they offer endless customization options—let your creativity run wild!
Ingredients for halloween cookies decorated
Here’s what you’ll need to make this delicious dish:
- All-Purpose Flour: Essential for structure, choose unbleached flour for a more natural taste.
- Sugar: Granulated sugar adds sweetness; brown sugar can be used for extra moisture and flavor.
- Butter: Use unsalted butter for better control of salt levels; it should be softened at room temperature.
- Eggs: One large egg helps bind everything together; make sure it’s at room temperature for best results.
- Baking Powder: This leavening agent gives your cookies that soft and chewy texture we all crave.
- Vanilla Extract: A splash of pure vanilla extract enhances the flavor profile beautifully.
- Food Colorings: Choose your favorite colors to create those hauntingly delightful designs—think orange, purple, and green!
- Royal Icing Ingredients (Powdered Sugar, Meringue Powder): This will help you achieve those intricate decorations that will wow your guests!
The full ingredients list, including measurements, is provided in the recipe card directly below.
How to Make halloween cookies decorated
Follow these simple steps to prepare this delicious dish:
Step 1: Prepare Your Dough
Start by preheating your oven to 350°F (175°C). In a large mixing bowl, cream together the softened butter and granulated sugar until light and fluffy. Add in the egg and vanilla extract, mixing until fully combined.
Step 2: Mix Dry Ingredients
In another bowl, whisk together the all-purpose flour and baking powder. Gradually add this dry mixture into the wet ingredients. Stir until a soft dough forms—don’t be afraid to get in there with your hands if needed!
Step 3: Chill the Dough
Wrap the dough tightly in plastic wrap and refrigerate it for about an hour. Chilling helps prevent spreading during baking—this is crucial if you want those spooky shapes to hold up!
Step 4: Roll Out & Cut Shapes
Once chilled, roll out your dough on a floured surface to about a quarter-inch thickness. Use cookie cutters in fun Halloween shapes like ghosts, pumpkins, or bats—you’re only limited by your imagination here!
Step 5: Bake Away
Place the cut-out cookies on lined baking sheets about an inch apart. Bake in preheated oven for about 8-10 minutes or until the edges start turning golden brown. Keep an eye on them—no one wants burnt cookies on Halloween!
Step 6: Decorate & Enjoy
Let the cookies cool completely before decorating with royal icing colored with food dye. Get creative with spooky designs! Once you’ve finished decorating, let them dry completely before serving.
Transfer to plates and watch as everyone gobbles them up—it’s Halloween magic on a platter!
You Must Know
- These Halloween cookies decorated with spooky designs are a fun way to get into the spirit of the season.
- Perfect for parties or cozy nights in, they bring smiles and giggles with every bite.
- Plus, they’re easy to make – even your gremlin-like children can help!
Perfecting the Cooking Process
To achieve cookie perfection, start by mixing the dough first. While it chills in the fridge, prep your icing and decorations. Bake the cookies until golden, then let them cool completely before decorating. This sequence ensures a stress-free cookie experience!
Add Your Touch
Feel free to swap out traditional flavors! Try pumpkin spice for an autumn twist or add chocolate chips for extra delight. You can even experiment with different food coloring for creative icing designs that will wow your guests.
Storing & Reheating
Store these cookies in an airtight container at room temperature for up to one week. For longer storage, freeze them in a single layer and transfer to a bag once frozen. Reheat gently in the oven if you prefer them warm.
Chef's Helpful Tips
- Use room temperature ingredients for a smoother dough consistency.
- Don’t skimp on chilling time; it helps prevent spreading during baking.
- For vibrant colors, gel food coloring works wonders without thinning your icing!
After making these cookies last year, my niece declared them “the best Halloween treats ever,” which still makes me chuckle. Her excitement was contagious as we decorated together, turning our kitchen into a mini haunted house of sugary goodness!
FAQs
What are the best types of frosting for Halloween cookies decorated?
When it comes to Halloween cookies decorated, royal icing and buttercream are popular choices. Royal icing dries hard, making it perfect for intricate designs. It can easily be colored and piped into various shapes. Buttercream, on the other hand, offers a creamy texture that is easy to spread. You can also tint it with vibrant colors for a festive look. Both options allow you to unleash your creativity while decorating those spooky treats.
How do I store Halloween cookies decorated?
To keep your Halloween cookies decorated fresh, store them in an airtight container at room temperature. If you’ve used royal icing, they can last longer without becoming stale. However, if you’ve used buttercream, consider refrigerating them for extended freshness. Always separate layers with parchment paper to prevent sticking. When ready to serve, allow them to come back to room temperature for the best texture and flavor.
Can I make Halloween cookies decorated ahead of time?
Absolutely! You can prepare Halloween cookies decorated a few days in advance. Bake the cookies and let them cool completely before decorating. Once frosted, store them in an airtight container as mentioned earlier. If you’re planning for a bigger celebration or party, making them ahead of time allows you to enjoy more stress-free moments with your guests.
What are some creative designs for Halloween cookies decorated?
The possibilities for Halloween cookies decorated are endless! Think spooky ghosts, grinning pumpkins, or eerie bats. Use cookie cutters in fun shapes and experiment with different colors of icing. Adding edible glitter or sprinkles can also enhance your designs. Don’t hesitate to mix and match ideas; this is where you can let your imagination run wild!
If you’re craving more sweet treats, explore these delightful dessert recipes for your next baking adventure.
Conclusion for halloween cookies decorated
In summary, creating delightful Halloween cookies decorated offers both fun and creativity. Focus on using quality ingredients like vibrant frostings and fresh spices for flavor. Planning ahead allows you to enjoy the process without stress while ensuring freshness through proper storage methods. Whether you’re hosting a party or sharing treats with friends, these festive cookies will surely impress everyone who tries them!
Did You Enjoy Making This Recipe? Please rate this recipe with ⭐⭐⭐⭐⭐ or leave a comment.
📖 Recipe Card
Print
Halloween Cookies
- Total Time: 30 minutes
- Yield: Approximately 24 cookies 1x
Description
Delightfully spooky treats for kids and adults that are easy to make and fun to decorate!
Ingredients
- 2 ¾ cups all-purpose flour
- 1 cup granulated sugar
- ½ cup unsalted butter (softened)
- 1 large egg (room temperature)
- 1 tsp baking powder
- 1 tsp vanilla extract
- Food colorings (orange, purple, green)
For Royal Icing:
- 3 cups powdered sugar
- 2 tbsp meringue powder
Instructions
- 1. Prepare Your Dough:
- Preheat your oven to 350°F (175°C). In a large mixing bowl, cream together softened butter and granulated sugar until light and fluffy. Add the egg and vanilla extract, mixing until combined.
- 2. Mix Dry Ingredients:
- In another bowl, whisk together all-purpose flour and baking powder. Gradually add this dry mixture into the wet ingredients. Stir until a soft dough forms.
- 3. Chill the Dough:
- Wrap the dough tightly in plastic wrap and refrigerate for about one hour to prevent spreading during baking.
- 4. Roll Out & Cut Shapes:
- Roll out chilled dough on a floured surface to about a quarter-inch thickness. Use cookie cutters to create fun Halloween shapes like ghosts, pumpkins, or bats.
- 5. Bake Away:
- Place cut-out cookies on lined baking sheets about an inch apart. Bake in preheated oven for about 8-10 minutes or until edges turn golden brown.
- 6. Decorate & Enjoy:
- Allow cookies to cool completely before decorating with royal icing colored with food dye. Let them dry fully before serving.
- Prep Time: 20 minutes
- Cook Time: 10 minutes
- Category: Dessert
- Method: Baking
- Cuisine: American
Nutrition
- Serving Size: 1 cookie ~30g
- Calories: 120
- Sugar: 10g
- Sodium: 35mg
- Fat: 5g
- Saturated Fat: 3g
- Unsaturated Fat: 2g
- Trans Fat: 0g
- Carbohydrates: 17g
- Fiber: <1g
- Protein: 2g
- Cholesterol: 15mg